
The 7 game-changing tools that transformed my makeup routine...
It's not about the products, it's honestly how you apply them...

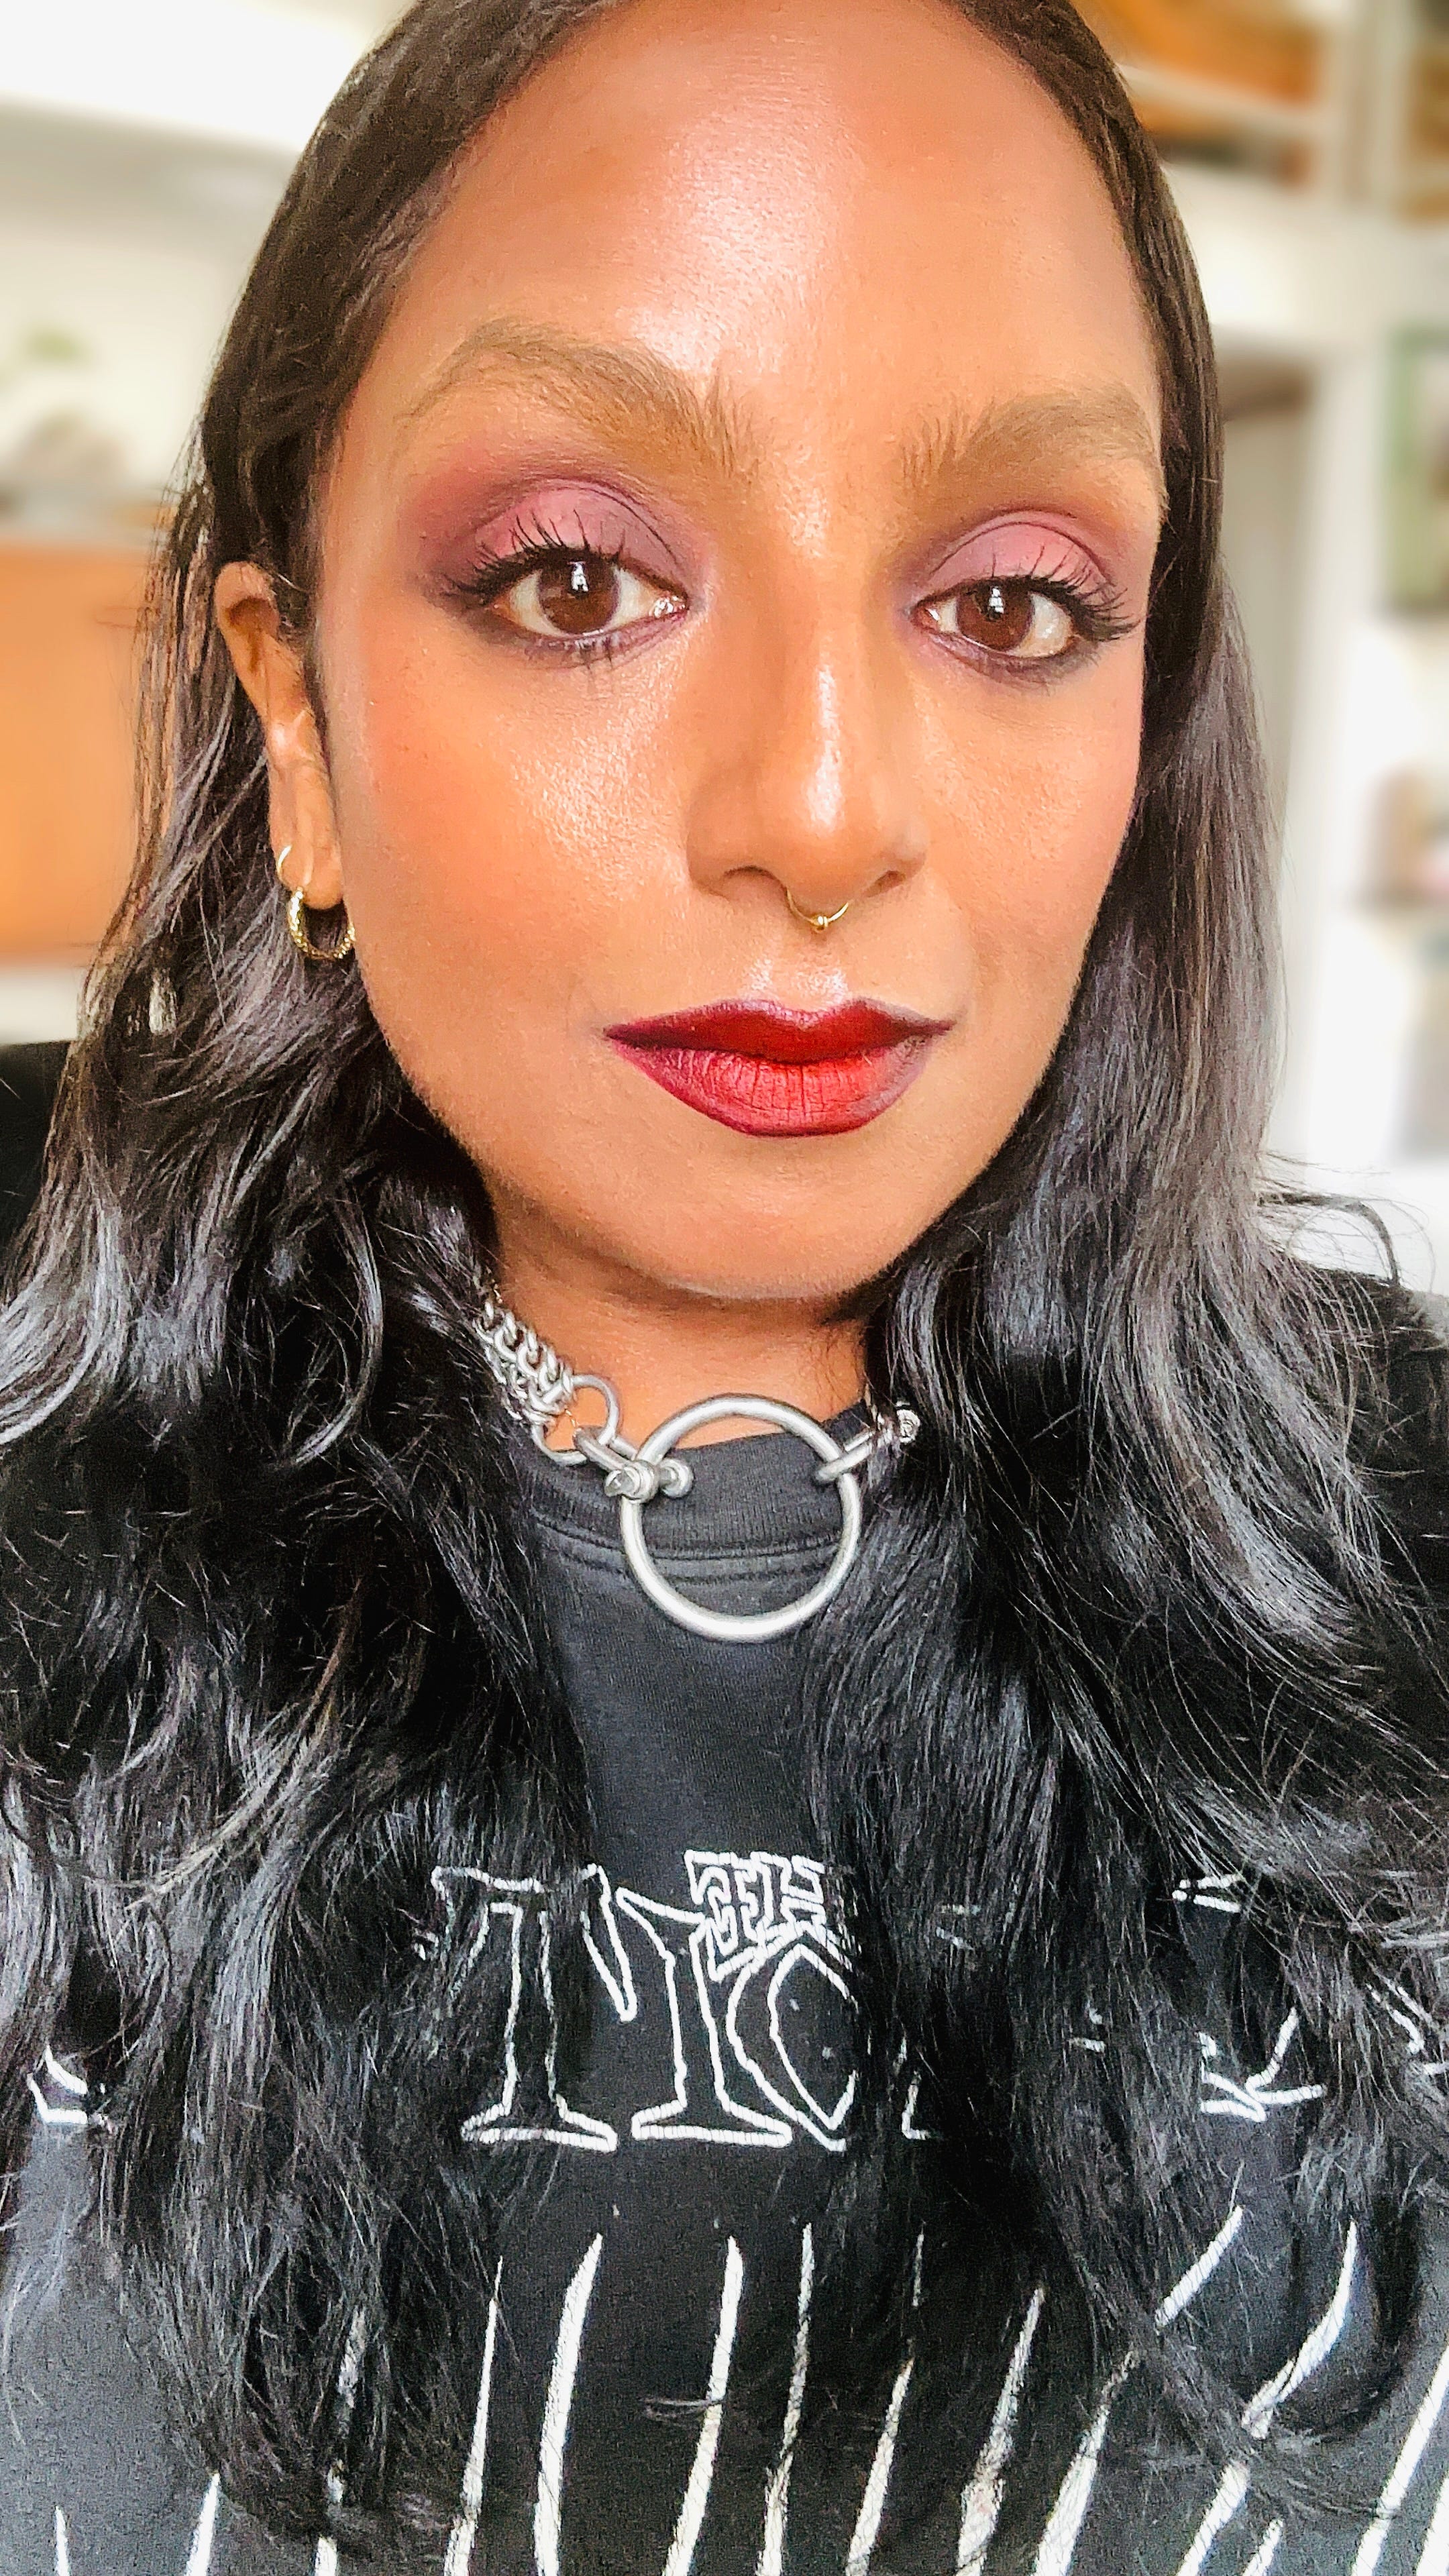
I can’t lie - I’m still deeply, in love with makeup and I think I always will be.
Put me near a Sephora or on C-Beauty Mall (truly one of the best corners of the internet), and I lose all sense of reason. I’ve loved make up since I was 12, and I even trained as a makeup artist in the late aughts partially because I was convinced I’d never land a journalism job during the credit crunch, and also because I wanted to know every trick of the trade to apply my own in new (and better) ways.
That’s why one of my weird joys is watching people apply makeup on the tube. Never in a judgey way - more like quiet fascination. Last week, I watched somebody smear concealer around her eyes like it was eye cream. I have to tell you, it was not good; and I know because every time I’ve used too much concealer, I’m left with rings around my eyes, and creasing too. Just this morning, I watched a stranger on the bus wrestle with her mascara wand, clearly unhappy with the results as she kept going, trying to elicit some kind of curl. I felt for her - mascara’s not cheap, and a bit of curl does make a difference. And that’s time that could’ve been spent listening to a true crime podcast, the new Turnstile album (it’s epic btw) or disassociating in peace.
All of this is to say: if you’ve ever looked in the mirror and thought, why doesn’t my makeup hit like it does on TikTok? Or like me, you were born pre-Youtube and learnt to apply make up from friends and magazines using sponge-tipped applicators, then it’s possible your make-up tools could use a little upgrade.
You don’t need all the crap gadgets and hacks on Tik Tok; these are underhyped essentials that actually make a difference to how your make-up looks. Nothing flashy here; just smart, simple tools that level up your face game really quickly.
Let’s get into it.
1. Get the right eyelash curlers for your eyetype…
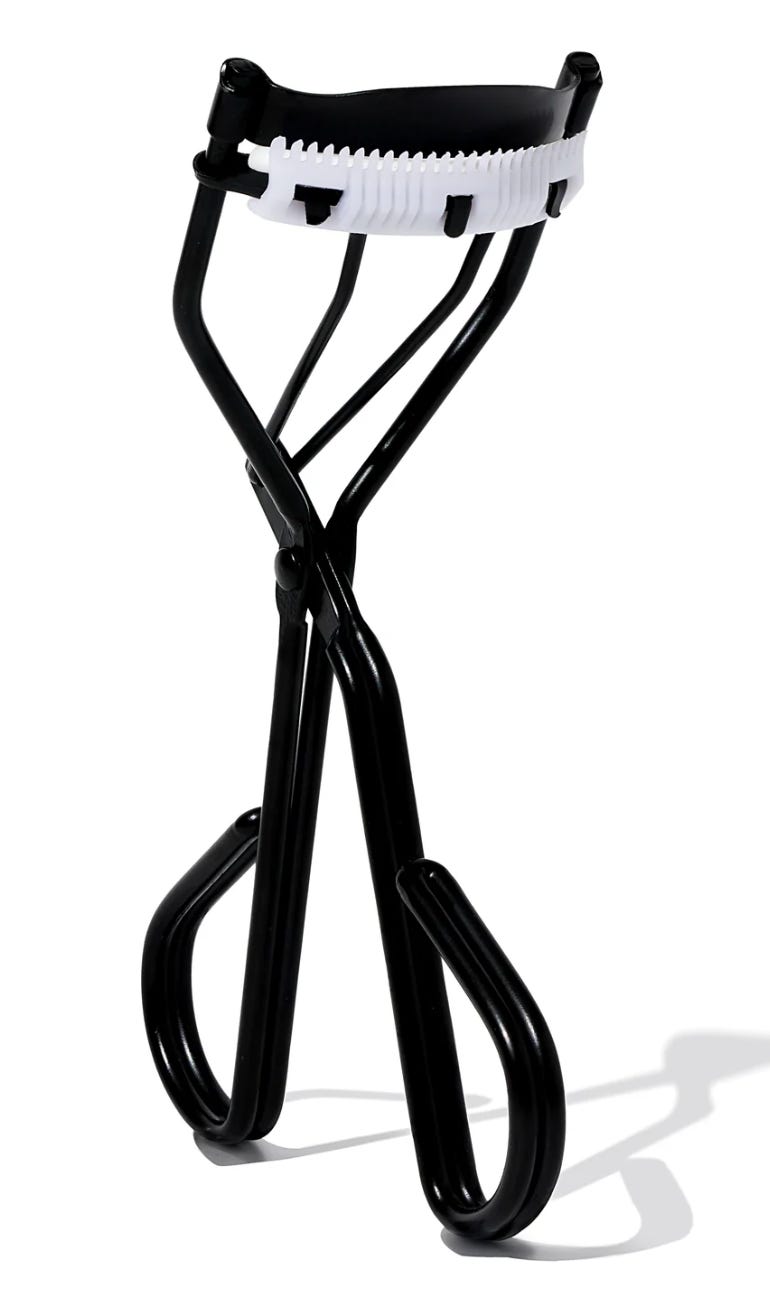
We’ve been sold the myth that one eyelash curler fits all. This is not true. If you’ve ever pinched your eyelid or felt like it didn’t do much, chances are you’re using the wrong kind of curler for your eye shape.
Almond shaped eyes? Deep set eyes? Go for a wider, flatter curler to catch every lash; I was recommended Suqqu’s one by a celeb make-up artist a decade ago and have never looked back. To really get to those end lashes you could also use a demi-curler - Silly George has some great ones.
Round eyes? A smaller, more curved curler will hug your lash line properly. These are the most common curler types you’ll see everywhere but these new ones from Bonded (above) impressed me and really give some serious curl too.
Hooded eyes? The OGs are by Shiseido and are truly great - and won't pinch your skin.
PS: I spent my teens/twenties using my Zippo to heat my lash curlers; don’t do that, it can and definitely did damage mine. But if you feel like the curl drops, you can (occasionally) heat it lightly with a hairdryer for a second or two before using (check it’s not too hot!) It gives lashes an extra lift that actually lasts.
PPS: Replace the pads every few months - that indent isn’t a good thing, you need the surface to be flat to give that curl.
2. A smaller than you think powder brush
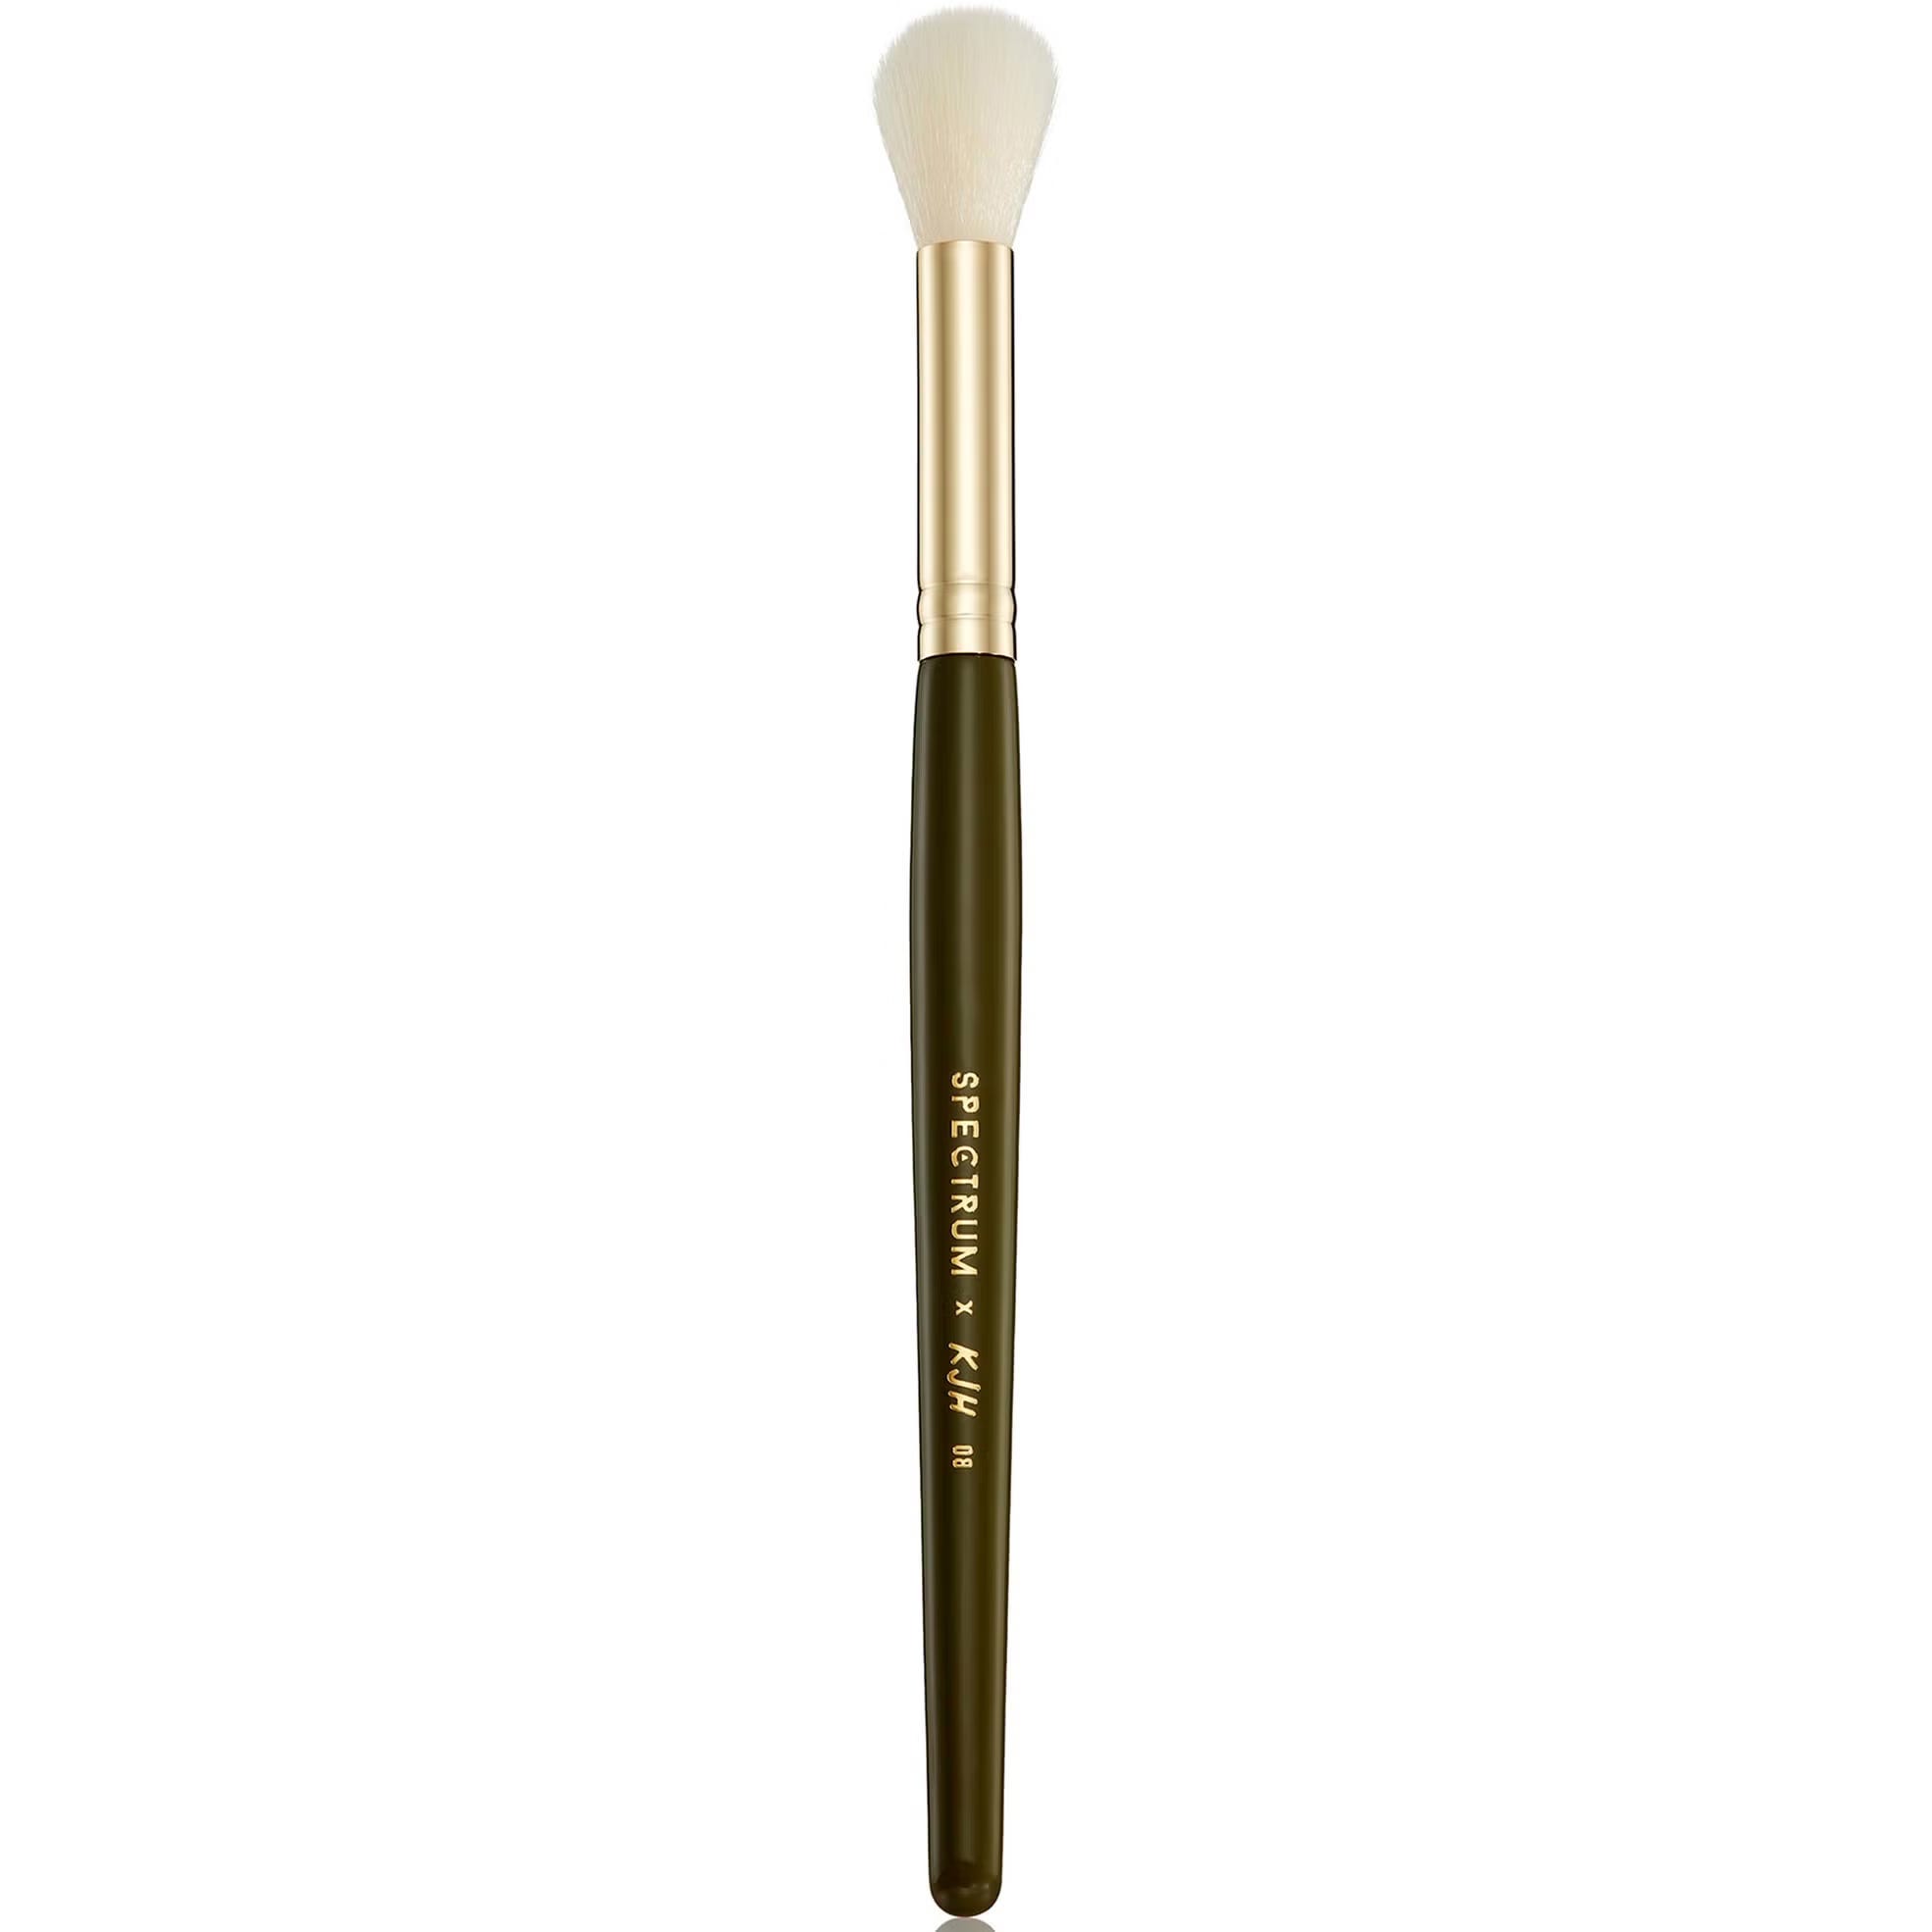
I spent most of my twenties trying to matte down my face with powder puffs so dense they could double as insulation. But these days, my skin is drier and I miss that glow. So now, using powder more sparingly and only where I want to ensure that product is ‘set’ is the way I now roll. Over-powdering sucks the life out of your skin (especially as our skin changes over time) so using a small, soft brush means you can target exactly where you actually need powder - for me that’s around the nose, around the lips, and under the eyes where I apply concealer.
This morphe one is pointed so you can really set under eye concealer, but if you struggle to keep concealer on, or already have fairly only skin, a more dense brush like this KJH x Spectrum one is ideal (above.)

3. A teeny tiny concealer brush
This one’s for anyone who grew up slathering on foundation the same way you apply your SPF. My gamechanger is using a light foundation/skin tint instead, and pinpoint concealing with a tiny brush. Watch any pro red-carpet make-up tutorial and they’ll do exactly this; and use the tiniest amounts of product blended in with the skin to make it look like it’s all natural.
Most concealers dollop huge amounts of product on your face, so use a tiny pointed brush to apply it, and blend it into the skin and you’ll see how much difference it makes. I use a pointed eyeshadow brush like this Morphe one above - it works better than any concealer ones I’ve tried.
Keep reading with a 7-day free trial
Subscribe to The Powder Room to keep reading this post and get 7 days of free access to the full post archives.